Optimizing Your Vet Clinic Lab Workflow
Improve your vet clinic lab workflow with practical strategies to reduce sample errors, speed up processing, and prevent missed laboratory charges.
By Helpful.vet Team
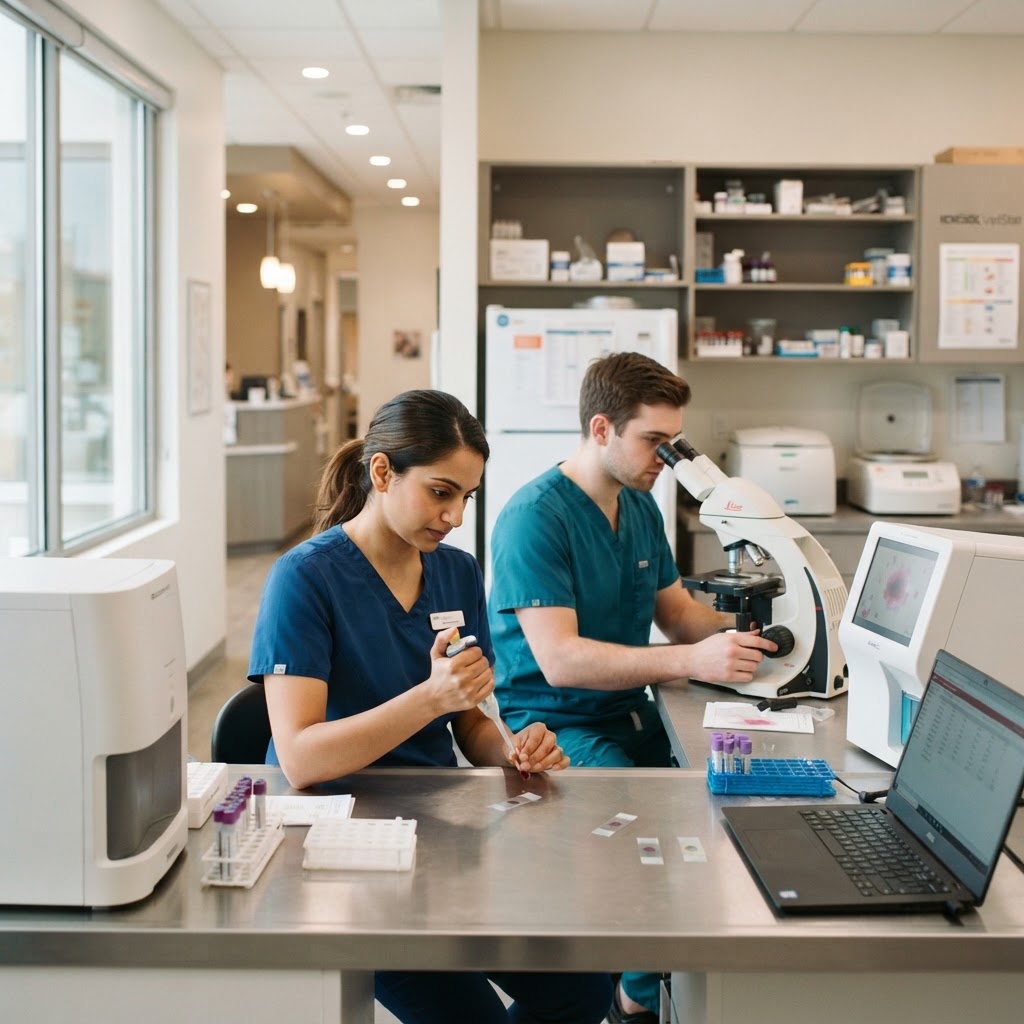
In a busy general practice, the in-house laboratory is often the beating heart of diagnostic decision-making. However, a poorly managed vet clinic lab workflow can quickly become a bottleneck, leading to lost samples, delayed patient care, and thousands of dollars in missed revenue each year. When technicians and assistants are forced to hunt for supplies, manually enter results, or track down doctors to interpret blood work, the entire appointment schedule suffers.
Optimizing your laboratory operations doesn't require a complete structural remodel. By implementing standardized protocols, utilizing your Practice Information Management System (PIMS) effectively, and creating clear communication channels, your team can transform the lab from a chaotic corner into an engine for clinical efficiency. This guide breaks down the essential steps to refine your vet clinic lab workflow for better patient outcomes and practice profitability.
Identifying the Most Common Lab Workflow Bottlenecks
Before implementing new protocols, it is crucial to understand where your current system breaks down. Evaluating your practice with a tool like the GP Clinic Workflow Score can help you pinpoint specific inefficiencies. Most general practice clinics struggle with one or more of the following laboratory bottlenecks:
- Unlabeled or mislabeled samples: Tubes left on counters without patient names, leading to discarded samples and redraws.
- Missed charge capture: Tests run in a rush during an emergency that are never invoiced on the client's bill. Industry estimates suggest up to 15% of in-house lab work goes unbilled in average practices.
- Equipment maintenance delays: Machines failing during peak hours because routine calibration and cleaning were skipped.
- Communication gaps: Doctors unaware that results are ready, or clients waiting hours for a callback regarding routine screening.
Phase 1: Standardizing Sample Collection and Labeling
The foundation of a strong vet clinic lab workflow begins in the exam or treatment room. If samples arrive at the lab station in poor condition or without proper identification, the entire process stalls.
Creating a Non-Negotiable Labeling Protocol
Never rely on memory. A sample should never leave the hand of the person who drew it unless it is clearly labeled. Implement a strict labeling policy that includes:
- The patient's first and last name.
- The date and time of collection.
- The initials of the team member who collected the sample.
If your PIMS supports barcode printing or automated label generation, place a label printer directly in the main treatment area to remove the friction of hand-writing labels on tiny microtubes.
Preparing Collection Kits
To save time during appointments, have your assistants prepare "lab kits" at the start of the day. A standard blood draw kit should contain the necessary syringes, needles, alcohol swabs, bandaging material, and appropriately colored tubes (e.g., EDTA, serum separator, lithium heparin). Storing these kits in small, stackable bins in the treatment area prevents technicians from gathering individual supplies while a patient is being restrained.
Phase 2: Streamlining Sample Processing and Equipment
The physical layout and maintenance of your laboratory area dictate how fast samples can be processed. A cluttered lab station invites mistakes and cross-contamination.
Organizing the Physical Lab Station
Treat the lab area like a surgical suite: it should be clean, organized, and stocked. Keep centrifuges, analyzers, and microscopes arranged in a logical, linear workflow. For example, the station should flow from a "drop-off" tray to the centrifuge, then to the analyzers, and finally to a "completed/discard" area.
- The Drop-Off Zone: Designate a specific, highly visible tray where all new samples are placed. Never leave samples scattered across keyboards or random counters.
- Dedicated Supplies: Keep pipettes, slides, coverslips, and stain right next to the microscope.
- Whiteboard Tracking: Mount a small dry-erase board above the analyzers to track samples that are currently spinning or incubating.
Automating Routine Maintenance
In-house lab equipment requires daily, weekly, and monthly maintenance. Assigning these tasks to "whoever has time" guarantees they will not get done. Instead, designate a primary and secondary lab liaison among your credentialed technicians. Build automated reminders into your PIMS or clinic calendar for machine cleanings and software updates. Maintaining your equipment not only prevents workflow-killing downtime but also ensures diagnostic accuracy.
Where is your workflow slowing down?
Take the free 3-minute GP Clinic Workflow Score and see where your daily workflow is strong, where friction builds up, and what to improve first.
Get Your Workflow ScorePhase 3: Ensuring 100% Charge Capture
A streamlined vet clinic lab workflow must include a failsafe for revenue capture. Running diagnostics without billing for them is a fast way to drain a clinic's profit margins.
Leveraging PIMS Bi-Directional Integration
If your laboratory analyzers are not integrated with your Practice Information Management System, you are losing money and time. Bi-directional integration means that a doctor can order a test in the patient's electronic medical record, which automatically sends the request to the analyzer and places the charge on the client's invoice. Once the test is complete, the results flow directly back into the patient's file.
If full integration isn't possible, institute a "charge before running" rule. The team member running the test must verify that the lab code is present on the patient's invoice before pressing start on the analyzer.
Utilizing Bundled Lab Codes
Simplify invoicing by creating bundled codes in your PIMS. Instead of having staff manually enter a complete blood count, chemistry panel, T4, and urinalysis separately for a senior pet, create a single "Senior Comprehensive Lab" code. This reduces the cognitive load on your front desk and technical staff, minimizing the chance of an accidental omission.
Phase 4: Communicating Results Efficiently
The workflow isn't complete when the analyzer prints the results; it is complete when the veterinarian interprets them and communicates the plan to the pet owner. You can evaluate your current communication efficiency using the Client Communication Score tool.
Notifying the Veterinarian
Avoid the habit of printing out physical lab slips and leaving them in a pile on the doctor's desk, where they can be lost or ignored. Use your PIMS task system or a secure internal messaging app to notify the doctor that results are ready for review. Establish a standard turnaround time—for instance, all routine in-house labs must be reviewed within 90 minutes of completion, while critical/STAT labs are reviewed immediately.
Client Follow-Up Workflow
Delegation is key to a sustainable vet clinic lab workflow. Veterinarians should not be spending hours calling clients with completely normal results. Establish a protocol where credentialed technicians or trained assistants call owners to deliver normal findings, using a doctor-approved script. The doctor can then focus their time on calling clients whose pets have abnormal results requiring a change in treatment plans.
Phase 5: Maintaining Quality Control and Standard of Care
Efficiency should never come at the expense of clinical accuracy. Regular audits of your laboratory protocols ensure that standard operating procedures are being followed. Utilizing the Standard of Care Self-Check can help practice managers and medical directors verify that the clinic is offering appropriate diagnostics consistently across all doctors.
Implementing Quality Control Logs
Keep a physical or digital log for all in-house lab tests, especially manual tests like PCV/TP, cytology, and manual cell counts. This allows management to track error rates, identify training opportunities for newer staff members, and ensure that controlled reference laboratory samples are matching in-house expectations.
The GP Clinic Lab Workflow Checklist
To help you implement these changes, print and review this checklist with your leadership team during your next hospital meeting:
- Collection: Are pre-made lab kits stocked in all treatment areas?
- Labeling: Is there a strict protocol (Patient, Date, Initials) for every sample?
- Workspace: Is the lab station organized with a clear drop-off and discard zone?
- Integration: Are your analyzers fully integrated with your PIMS for automatic charge capture?
- Invoicing: Is there a "charge before running" rule in place?
- Maintenance: Are daily and weekly equipment cleanings assigned to specific individuals?
- Communication: Are normal results delegated to support staff for client callbacks?
By taking a systematic approach to your vet clinic lab workflow, you empower your team to work smarter, not harder. Reducing the friction involved in diagnostic testing leads to faster answers for your patients, less stress for your staff, and a healthier bottom line for your practice.

Helpful.vet Team
ContributorA veterinary professional contributing practical insights to Helpful.vet.
More about Helpful.vetFrequently asked questions
The most effective method is utilizing bi-directional PIMS integration, where ordering the test automatically generates the invoice charge. If integration isn't possible, institute a strict 'charge before running' rule where staff must add the PIMS code before turning on the analyzer.
Assign lab maintenance to a specific credentialed technician or experienced assistant as their primary daily duty, rather than relying on a general team effort. Rotate this role monthly or quarterly to ensure cross-training while maintaining clear accountability.
To optimize doctor time, it is highly recommended to delegate normal lab callbacks to trained technicians or assistants using a pre-approved script. Veterinarians should reserve their callback time for abnormal results that require discussing a change in the patient's treatment plan.
Implement a zero-tolerance policy where samples cannot be set down until they are labeled with the patient's name, date, and collector's initials. Placing an automated label printer directly in the blood draw/treatment area significantly reduces the friction of compliance.
Medical disclaimer: Helpful.vet provides educational and workflow-related information for veterinary professionals. It does not provide medical advice, diagnosis, or treatment recommendations. Clinical decisions should always be made by a licensed veterinarian using patient-specific history, examination findings, diagnostics, and professional judgment. See our full medical disclaimer.
Get more practical GP tools in your inbox
Short, useful resources for veterinary practice teams.